How to Automatically Forward Emails and Save Time
Ever found yourself juggling a handful of different email accounts, constantly switching tabs just to stay on top of things? Automatic email forwarding is the simple, elegant solution. It’s basically a rule you set up to send incoming messages from one inbox straight to another, all without you lifting a finger.
Why Smart Email Forwarding Is a Game Changer
Learning to automatically forward emails is more than just a neat little tech trick; it completely overhauls how you handle communication. We're not just talking about shuffling messages from point A to point B. It’s about building a smarter, more efficient system that saves you time, cuts down on human error, and makes sure the right information lands in front of the right eyes, instantly.
Think about a freelance designer with a separate email for each project. Instead of bouncing between inboxes, they can funnel all client communication into one primary account. This simple move ensures crucial feedback never gets overlooked, keeping projects on track and clients happy.
Streamlining Business Operations
For small businesses, the impact can be immediate. Imagine routing every message sent to a generic "support@" address directly to the person on call that week. A single rule like that can slash response times and boost customer satisfaction, no complex helpdesk software required. You’re turning a reactive chore into a proactive system.
It's no surprise that the demand for these tools is growing. The global email forwarding service market was valued at USD 2.5 billion in 2023 and is projected to skyrocket to USD 5.7 billion by 2033. This growth is fueled by our deep reliance on email for just about everything.
This strategy transforms your inbox from a source of chaos into a streamlined, productive tool. It puts you back in control, letting automation handle the sorting so you can focus on the work that matters.
The power of email automation doesn't stop at forwarding, either. These same principles are the bedrock of successful automated email marketing campaigns, proving just how much you can accomplish with smart email management.
To take your inbox skills even further, check out our guide on essential tips for email management.
Setting Up Automatic Forwarding in Typewire
If you're looking to funnel all your emails into one place, setting up automatic forwarding in Typewire is the way to go. It’s a straightforward feature that reroutes all incoming messages from your Typewire account to another primary inbox. This is a lifesaver for keeping things organized and ensuring you never miss a critical update.
Let’s get it set up.
First, you’ll want to head to your main dashboard and find the Settings menu. This is your command center for pretty much every configuration on your account.
Finding the Forwarding Options
Once you're in the settings area, look for a tab or link that says Forwarding and Rules. Typewire makes this pretty easy to spot. Clicking this takes you right where you need to be to start directing your email traffic.
This is the screen where you'll tell Typewire where to send your emails. Here’s what that interface looks like.
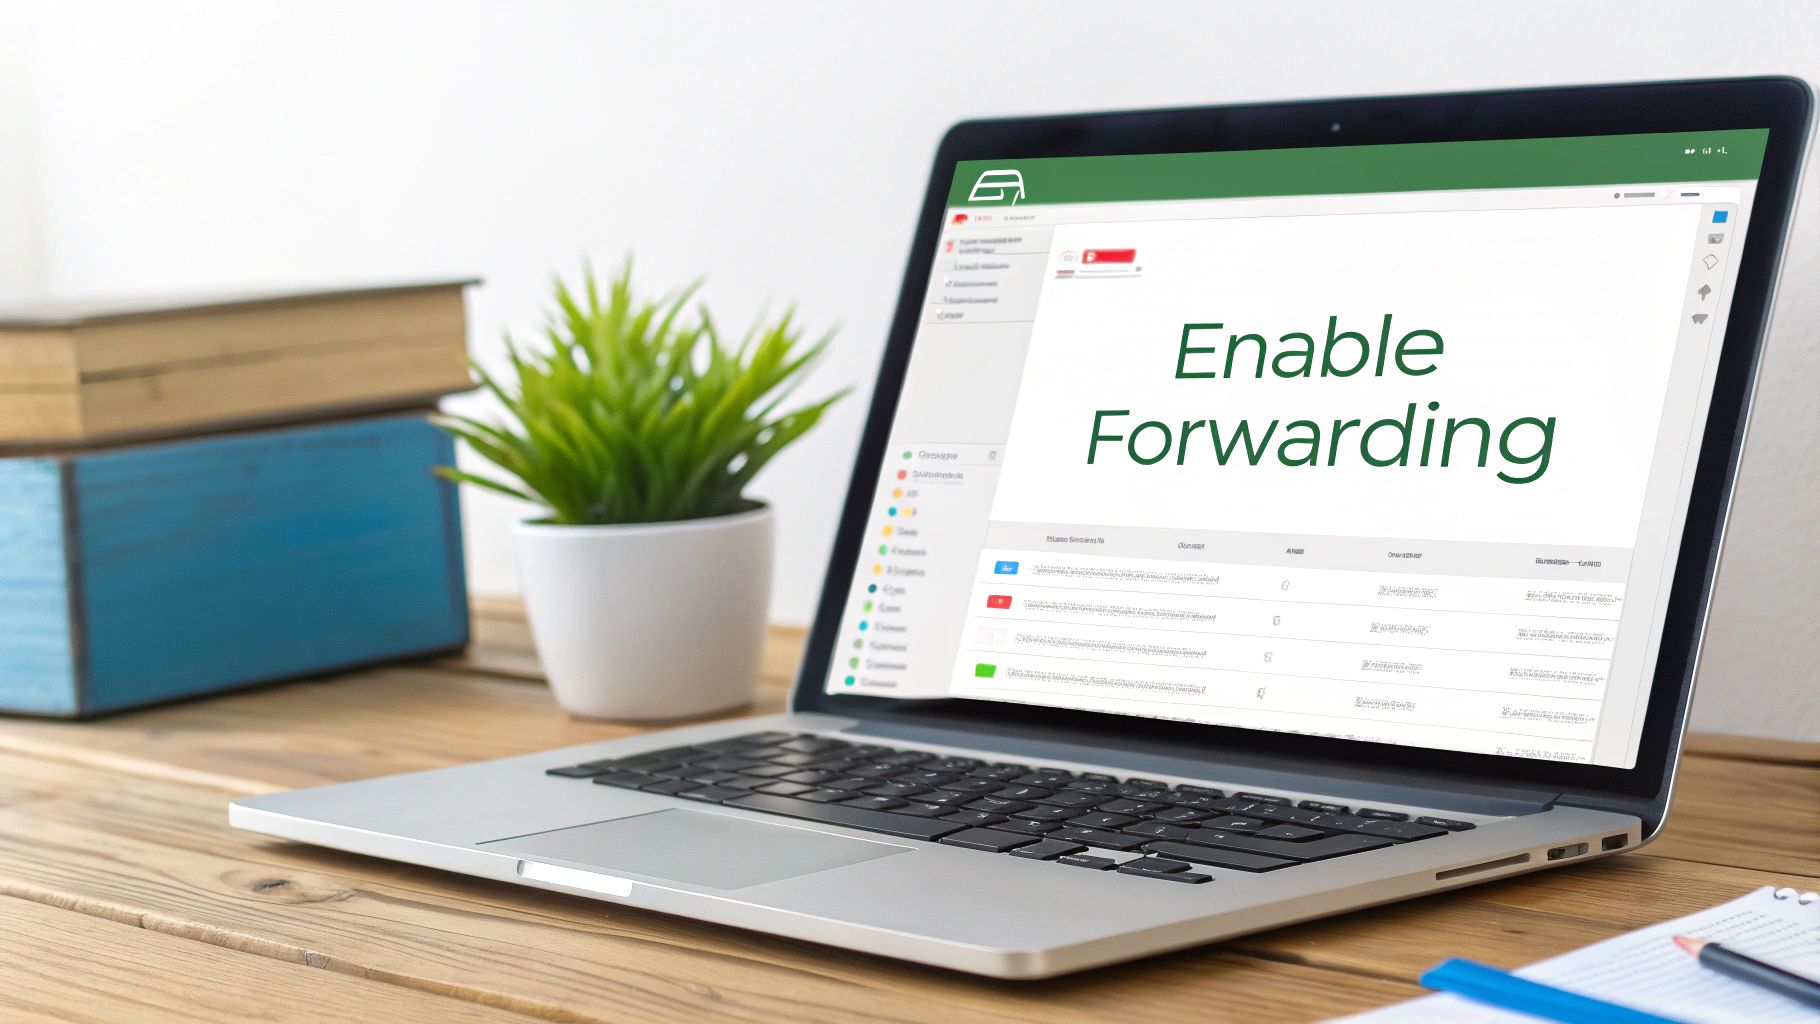
As you can see, the layout is clean, making it simple to pop in a new forwarding address without getting lost.
Go ahead and type in the full email address you want to forward your messages to, then click the Add a Forwarding Address button. This next part is all about security. Typewire will immediately send a verification email to that new address. You’ll need to open that email and click the confirmation link inside to prove you own the account. It’s a crucial step that prevents anyone from forwarding your emails without your permission.
My Advice: Don't forget to check your other inbox for that verification email right away. The forwarding rule won't actually kick in until you've clicked that link and confirmed it's you.
Choosing Your Forwarding Preferences
After your new address is verified, you have a key decision to make: what happens to the original email in Typewire?
- Keep a copy in Typewire: I almost always recommend this option. It essentially creates a backup, giving you a complete record of your conversations within Typewire, even after they've been forwarded. It's saved me more than once.
- Delete the copy: This choice keeps your Typewire inbox tidy, but it also means the only copy of the message lives in the destination account. Be careful with this one, especially if you’re forwarding important business emails.
This kind of control is a huge help for anyone trying to figure out how to manage multiple email accounts effortlessly and maintain a solid system.
Once you’ve made your choice, just hit Save Changes. That’s it! Your emails will now start forwarding automatically based on the rule you just created.
Setting Up Forwarding in Your Everyday Inbox: Gmail and Outlook
While a dedicated service like Typewire is fantastic, many of us live inside Gmail or Outlook. Knowing how to forward emails automatically from these platforms is an essential skill for keeping your communication flowing smoothly. Let's walk through how to get it done in both, as they handle things quite differently.
This graphic gives a great overview of the kind of settings you'll encounter.

As you can see, filters are really the secret sauce to making powerful automation happen in either platform.
How to Forward Emails in Gmail
Gmail’s main forwarding feature is straightforward. You’ll find it by clicking the gear icon in the top-right corner, then See all settings. From there, head over to the Forwarding and POP/IMAP tab.
Your first move is to click Add a forwarding address. Gmail will then send a verification code to that email to make sure you actually have access to it. Once you've confirmed, you can flip the switch on "Forward a copy of incoming mail to…" and decide what happens to the original message—keep it in your Gmail inbox, mark it as read, archive it, or just delete it.
This all-or-nothing approach is perfect if your goal is simply to redirect every single email you receive to another address.
Using Advanced Rules in Outlook
Outlook gives you much more control by leaning on its Rules engine. This is the way to go when you only want to forward specific emails that meet certain criteria, not your entire inbox.
To get started, click the settings gear, then go to View all Outlook settings → Mail → Rules.
Here, you can build a new rule by defining a trigger and a resulting action:
- Set a Condition: You can trigger the rule based on who the sender is, specific words in the subject line, or even if your address is in the CC field.
- Define an Action: Choose "Forward to" and pop in the email address where you want the message to go.
This system is incredibly flexible. A project manager, for instance, could set up a rule to automatically forward any email with the word "invoice" in the subject line straight to the accounting department.
With the rise of remote work, these features have become more important than ever. They help teams stay productive and ensure critical information gets to the right person on time. If you're interested in the market trends, you can find some great insights on email forwarding services here.
My pro tip for Outlook: Start simple. Create one or two basic rules and let them run for a few days to make sure they're working as expected. It's surprisingly easy to create confusing loops or unintended side effects if you build too many complex rules at once.
Email Forwarding Feature Comparison
When you're deciding where to manage your forwarding, it helps to see how the features stack up. Here's a quick look at Typewire, Gmail, and Outlook side-by-side.
| Feature | Typewire | Gmail | Outlook |
|---|---|---|---|
| Basic Forwarding | Yes, all incoming emails | Yes, all incoming emails | Yes, using a "forward all" rule |
| Conditional Rules | Yes, highly advanced and flexible | Yes, using Filters | Yes, using Rules |
| Multiple Addresses | Yes, forward to multiple recipients at once | No, only one primary forwarding address | Yes, can be set up in rules |
| Verification | Required for security | Required for security | Not always required, depending on setup |
| Keep a Copy | Yes, with multiple options | Yes, with options to archive, read, or delete | Yes, configured within the rule |
This comparison shows that while Gmail and Outlook offer solid, built-in options, a specialized service like Typewire often provides more power and flexibility, especially for complex business needs.
Go Beyond Basic Forwarding with Custom Filters and Rules
Setting up a simple, all-or-nothing forward is a good start, but the real magic happens when you start building conditional rules. This is where you can turn a basic email redirect into a smart, automated workflow that actually sorts your communications for you. Instead of just dumping every single message into another inbox, you can teach your email client to analyze what's coming in and act accordingly.
Think about it this way: imagine you're a consultant. You could create a rule that automatically forwards any email from a VIP client's domain straight to your personal phone's inbox, while also CC'ing your project manager. This way, critical messages get immediate attention from the right people, and your main work inbox isn't cluttered with less urgent mail.
Building Your First Smart Rule
The logic behind these rules is surprisingly simple: you set a trigger, and then you define the action. It's really just an "if this, then that" command for your email.
You can get pretty creative with the triggers. Common ones I see people use all the time include:
- From a specific sender: Forward all emails from
client@example.com. - Keywords in the subject: Forward any message containing "Invoice" or "Urgent Request."
- Recipient address: Forward emails sent to a specific alias, like
support@yourdomain.com. - Has an attachment: Route all emails with attachments to a cloud storage folder.
This level of control lets you design some really precise automation. For instance, a small e-commerce business could forward any email with "Order Confirmation" in the subject line directly to their fulfillment team. That simple rule can streamline the entire shipping process without anyone having to lift a finger. For even more ideas, check out our deep dive into the top email filtering solutions for inbox security.
The best way to start is to think about the repetitive tasks you're already doing. If you find yourself manually forwarding the same types of emails every single day, that's your perfect candidate for an automated rule.
The flood of email isn't slowing down. Projections show that the number of daily emails will climb from 392 billion in 2025 to over 523 billion by 2030, according to the latest email statistics report. This massive flow of information is exactly why knowing how to forward emails with precision is such a critical skill. Start with one simple rule and you'll see how much time it can save.
Common Mistakes to Avoid When Forwarding Emails

Setting up automatic email forwarding feels like a productivity superpower. But I've seen a few common missteps turn this handy tool into a real headache, causing everything from lost messages to glaring security gaps. Getting it right from the start is key to making sure your system works for you, not against you.
One of the classic blunders is creating an accidental forwarding loop. This is what happens when you set Account A to forward to Account B, but then you also have a rule on Account B sending messages right back to Account A. It creates an endless, resource-draining cycle that can crash your inbox and even get your accounts flagged by providers.
Don't Blindly Forward Everything
Here’s another big one: forwarding every single email you receive without thinking about privacy. Your inbox is full of sensitive information—bank alerts, password reset links, personal health updates, you name it. Sending all of that to a less secure personal account can be a recipe for disaster.
This is where filters become your best friend. Instead of a blanket "forward all" rule, get specific. For example, you could:
- Only forward emails from specific client domains you work with daily.
- Create rules that look for certain project codes or keywords in the subject line.
- Actively exclude emails containing words like "password," "invoice," or "statement" unless you are absolutely certain the destination is secure.
This selective approach keeps your private information locked down while still giving you the convenience you're looking for.
I always tell people to ask themselves one simple question: "Do I really need this type of email sent to that other account?" A few seconds of thought can save you from a major privacy nightmare.
Keep Your Rules from Getting Stale
Finally, avoid the "set it and forget it" trap. It's so easy to create a forwarding rule for a specific project and then completely forget it exists. But our workflows change, we switch jobs, and projects end. An old, forgotten rule can become a sneaky source of information leaks.
Make it a habit to review your forwarding rules periodically. I'd suggest putting a reminder on your calendar for every 3 to 6 months. Just do a quick check to make sure the destination addresses are still correct and the filter conditions still make sense.
It's a tiny time investment that ensures your automated setup remains a helpful assistant, not a hidden liability.
Got Questions About Email Forwarding? We've Got Answers
When you're setting up automatic email forwarding, it's natural to have a few questions. Getting these sorted out from the start is the key to making sure your system is efficient, secure, and does exactly what you need it to.
Let's dive into some of the most common questions we hear.
Can Senders See That I Forwarded Their Email?
This one comes up all the time, and the short answer is no, they can't.
When you set up forwarding on the server (like in Typewire, Gmail, or Outlook), the process is completely invisible to the original sender. As far as they know, their message was delivered to the one address they sent it to. End of story.
Is It Possible to Forward Emails to More Than One Person?
Absolutely, though the "how" depends on your email provider.
Gmail’s main forwarding feature is a bit rigid, only allowing you to send everything to one single address. But there’s a great workaround: filters. With filters, you can get much more specific.
For example, you could set up a couple of different rules:
- Any email with "Invoice" in the subject? Create a filter to automatically send it to
accounting@yourbiz.com. - A message from a key client? A separate filter can zap that right over to your project manager's inbox.
Other platforms, like Typewire and Outlook, give you more direct control right out of the box. Their "Rules" features are built to handle routing messages to multiple people at once, which is a lifesaver for collaborative teams.
Forwarding vs. Aliases: What's the Difference?
This is a crucial distinction. People often use these terms interchangeably, but they are fundamentally different tools for different jobs.
An alias is just a different name for the same inbox. A forward is a rule that sends an email from one inbox to a completely different one.
Think of it this way: support@yourbiz.com could be an alias for jane.doe@yourbiz.com. Emails sent to the "support" address land directly in Jane's main inbox—there isn't a separate "support" mailbox at all.
Forwarding, on the other hand, is like a postal worker receiving a letter at one house and then taking it to a different address. The email arrives at invoices@yourbiz.com first, and then a rule kicks in to re-send a copy to accounting-team@yourbiz.com.
Use aliases when you want multiple entry points to a single inbox. Use forwarding when you need to connect two separate, distinct accounts.
Ready to manage your communications with total privacy and control? Typewire offers secure, ad-free email hosting that puts you in charge of your data. Start your free 7-day trial today and experience a better inbox.
How to Automatically Forward Emails and Save Time
Posted: 2025-09-20
Can You Trace an Email? How Email Tracing Works
Posted: 2026-07-24
Canadian Data Sovereignty: Your 2026 Business Guide
Posted: 2026-07-21
What Is Vishing? Voice-Phishing Scams Explained
Posted: 2026-07-17
What Is a Phishing Link? How to Check a Link Before You Click
Posted: 2026-07-14
What Is Quishing: Protecting Against QR Code Scams in 2026
Posted: 2026-07-10
How to Read an Email Header (and Spot a Fake Sender)
Posted: 2026-07-07
Why Choose a Canadian Email Provider? Privacy, Data & Compliance
Posted: 2026-07-03
What Is an MX Record? How Email Routing Works
Posted: 2026-06-30